We've designed a 3D printable support stand for refilling drywipe markers! - Show-Me Direct UK
Home The Lab We’ve designed a 3D printable support stand for refilling drywipe markers!

We’ve designed a 3D printable support stand for refilling drywipe markers!

Updated: 04/05/2023 at 16:12

UPDATED VERSION NOW AVAILABLE

If you haven’t seen our post on Show-me Drywipe Markers are Refillable or What does capillary action have to do with drywipe markers?, then you may wish to read through them first. Otherwise, scroll down to get the 3D Printing files.


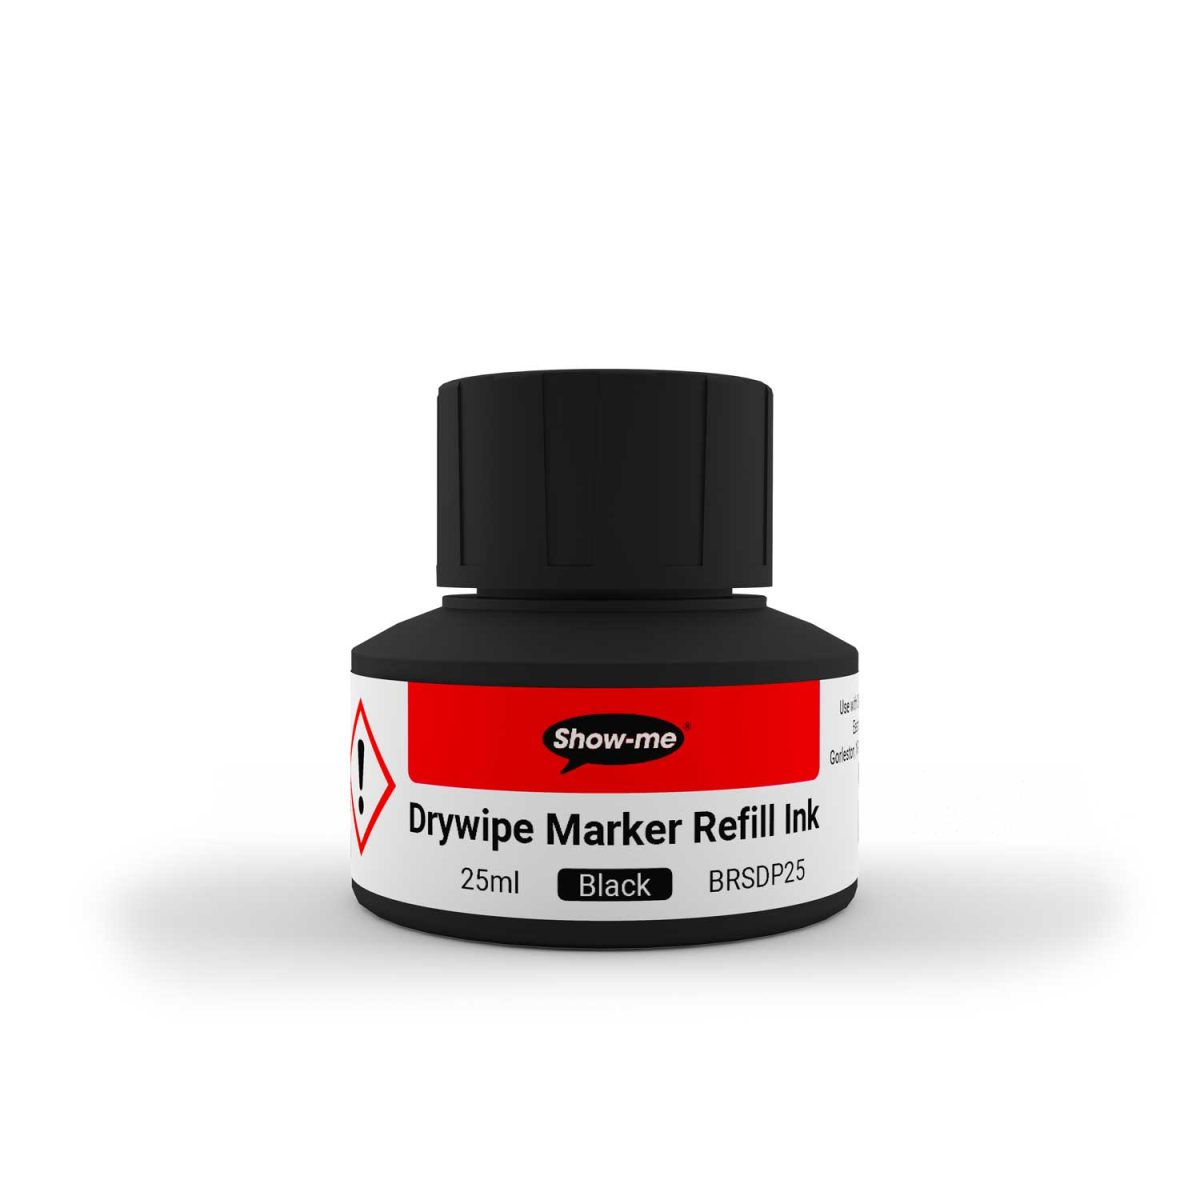
Do Show-me sell the inkwells?

As it stands, we do not see this as the right solution for the education market and are not launching our own version of the inkwell. The Edding option works well with the Show-me Drywipe Markers and is currently widely available.

When testing our markers, we noticed that as soon as you add the marker to be refiled it becomes easier for the inkwell to be knocked over. So, we have designed a 3D Printable support that makes it much harder do knock over and therefore much safer for the classroom.

The inkwells can even clip together to make a chain if multiple inkwells are required!

This model contains a base, multi-height support, inkwell clip, and marker holder designed specifically for the Show-me range of drywipe markers.


Prototyping
various protoypes of the refill support stand showing 7 versions of development

After designing the support stand we went through various testing using our 3D printer to refine the process, so that if you choose to print one yourself, the parts fit together and the marker is held securely.

Each time we ran into a challenge, we reiterated and tried again. This isnt new for us as this is the process we go through in the lab to refine all the products that you use, and was the same for the newly improved Refillable Whiteboard Cleaner.


The 3D Printing Files – Inkwell and Marker Support V3

The STL Files for each of the 4 pieces and an instant print g.code file and Cura project are included for those with access to a 3D Printer.

We have used PLA on a Creality Ender-3 V2 to keep the cost to a minimum.

The parts were run as 1 set at a time, with the printing speed set to 50, and nozzle temp. 190°C, heated bed temp. 50°C.


The material worked out at 16g using 5.48m at only 29p and took 6 hours to complete, however you may get different results depending on your 3D printer and settings.

Assembly

After printing, you’ll need to check the fit of each component to ensure that the size of the friction fit parts lock together.

Once confirmed, you can assemble the stand as follows: Slot the multi-height support onto the base using the keyway at the back. Unscrew the lid of the inkwell just enough to attach the inkwell clip, slide this combined part onto the multi-height support. Slide your Show-me drywipe marker into the marker clip barrel first backwards, this has been designed so that the marker cannot be removed easily while refilling, then take this part and slide it onto the ‘bridge’ pushing the marker into the inkwell so that it is snug. If you have multiple support stands, clip them together at this point, by design this will lock the previous stand, making the removal of the inkwell trickier.

If we create an updated version of the support, we’ll replace the files above, so remember to subscribe or follow us on social media.