


Whiteboards are an essential resource in classrooms, offices, meeting rooms and more. They can be an expensive investment, however taking the time to properly maintain and clean your whiteboard will save you both time and money in the long run.
Keeping your board clean ensures that your ideas are well communicated and your writing is easy to read, even from across the room.


Maintenance
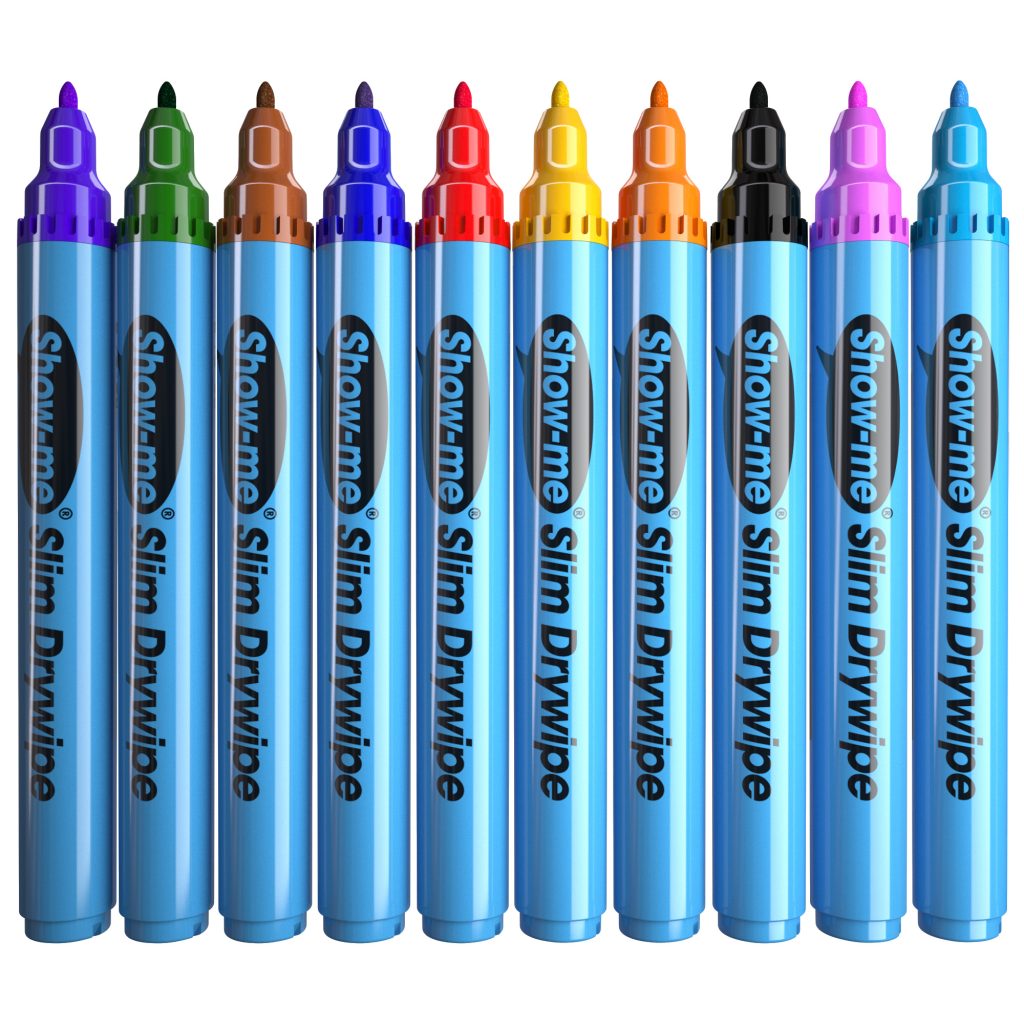
Firstly, make sure you are using the correct type of pens for your whiteboard. The barrel of the pen should say whether it is suitable or not – avoid using permanent markers, sharpies and highlighters.
Be wary when buying your drywipe pens. Cheaper pens may have a harder tip, which could scratch and damage the surface of the board. Whilst budget can be a key factor when purchasing office supplies, it’s important to remember that it’s cheaper to invest in good quality pens than it is to replace multiple whiteboards that have been damaged by cheap pens.
Regularly clean your board using a whiteboard cleaner and suitable eraser or wipe. You should clean your board depending on the frequency it is used, for example if you’re using it every day then clean it at the end of each day – your future self will thank you for it!
For mini whiteboards, avoid damage by safely packing them away at the end of each session; it’s easy to accidentally step on or spill something on a whiteboard that has been left out.
Use mini whiteboards suitable for the environment you’ll be in, standard plastic whiteboards can easily bend or flex depending on the micron thickness or board surface, and MDF boards are great for taking outside but can get damaged in the rain. Do your research and invest in quality whiteboards.
Cleaning
It may tempting to reach for that cleaning cloth or trusty kitchen roll, but use erasers designed specifically for whiteboards. Whiteboard erasers are non-abrasive and designed to remove drywipe ink, so will be much more effective than a cloth that may smudge ink around the board.
Foam and felt erasers work the same way. They pick up ink pigment from the board surface; some is pushed to the side of the board and the rest sticks to the surface of the eraser. As the pigment builds up you risk putting those pigments back on the board surface, so it’s recommended to regularly clean or replace your erasers.
Stay away from paper towels and kitchen roll as these can leave small abrasions on the board surface, and remember to always allow the ink to fully dry before erasing.
Do not attempt to make your own whiteboard cleaner. You need to be sure that the formula you’re using has been designed for whiteboards and will not damage the surface, or be hazardous to your health. This is especially important in environments with children or medical settings where individuals may have weaker immune systems and underlying health problems.

Removing Permanent Marker
Mistakes happen, and whether it’s a lively lesson, meeting, or training session, you may reach for your usual drywipe pen and accidentally grab a permanent marker!
Some online tutorials recommend using abrasive cleaners or even toothpaste to remove permanent marker, however it’s best to avoid these as they can destroy the surface of your whiteboard.
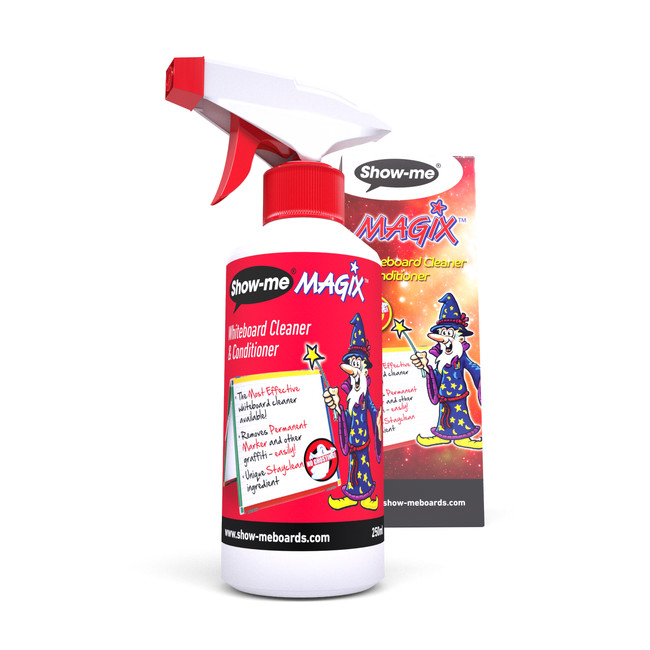
Of course, we recommend using Show-me MAGIX as the unique formula removes permanent marker with ease and improves the condition of your board. However, if you’ve run out of MAGIX, here are a couple of methods you can try:
The drywipe pen method
- Colour a solid block, using a drywipe pen, over the permanent marker
- While the ink is still damp, use a whiteboard eraser to wipe the board clean
- This should remove some of the permanent marker, and can be repeated until all the ink is gone
Why we don’t recommend this: This technique can lead to ghosting and smudging
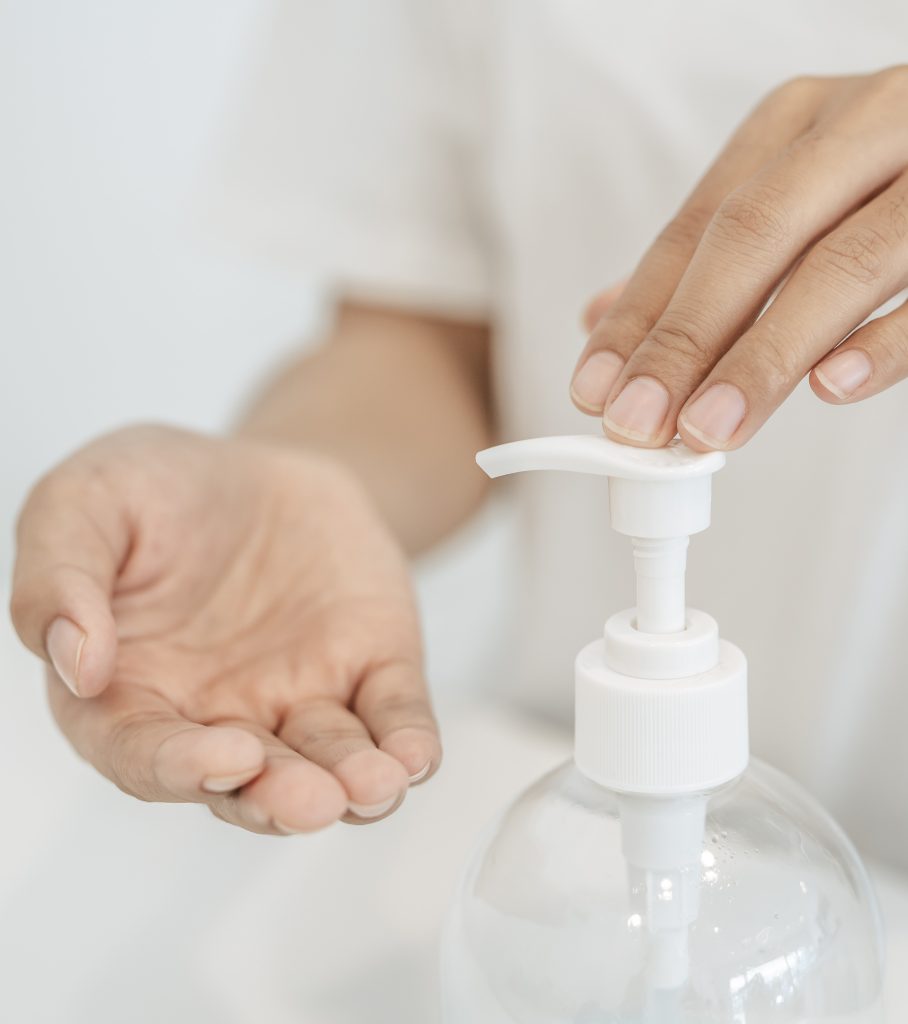
The hand sanitiser method
- Apply hand sanitiser (we all have plenty available!) to a clean, soft cloth
- Rub away the permanent marker
- Wipe over the area with a dry clean, soft cloth and repeat if necessary
Why we don’t recommend this: Using sanitiser can damage the board surface and the type of cloth you use may leave abrasions on the board surface.
Using MAGIX
We’ve mentioned it a couple of times, but what is MAGIX?
MAGIX is more than just a standard whiteboard cleaner; it’s two products in one. The cleaner effortlessly removes ghosting, staining, ballpoint pens and even permanent marker. The conditioner adds a conditioning microfilm layer to the board surface which improves erasability and gives a far smoother writing experience.
How to Use:
MAGIX is suitable for all wall-mounted and mini whiteboards. Simply:
- Remove the drywipe ink using a standard foam or felt eraser – you don’t need to apply a lot of pressure
- Gently clean the board surface using a microfibre cloth to remove ink particles
- Apply Show-me MAGIX either directly on to the board, or to a cloth which will allow you to control the amount used
- Clean the board immediately – if you allow MAGIX to dry, the alcohol evaporates and it won’t be as effective
Top tip: Cleaning a large whiteboard? Don’t spray MAGIX over the entire surface then start cleaning. It’s best to work on a section at a time to prevent the formula from drying out before you reach that part of the board.
In Conclusion….
The best way to make your whiteboards last longer is to invest in good quality pens and erasers, as well as a whiteboard suitable to the environment it’s being used in.
If you’re curious about the different types of boards available, check out our blog here.
Follow us on social for more tips and hints about everything whiteboard-related!